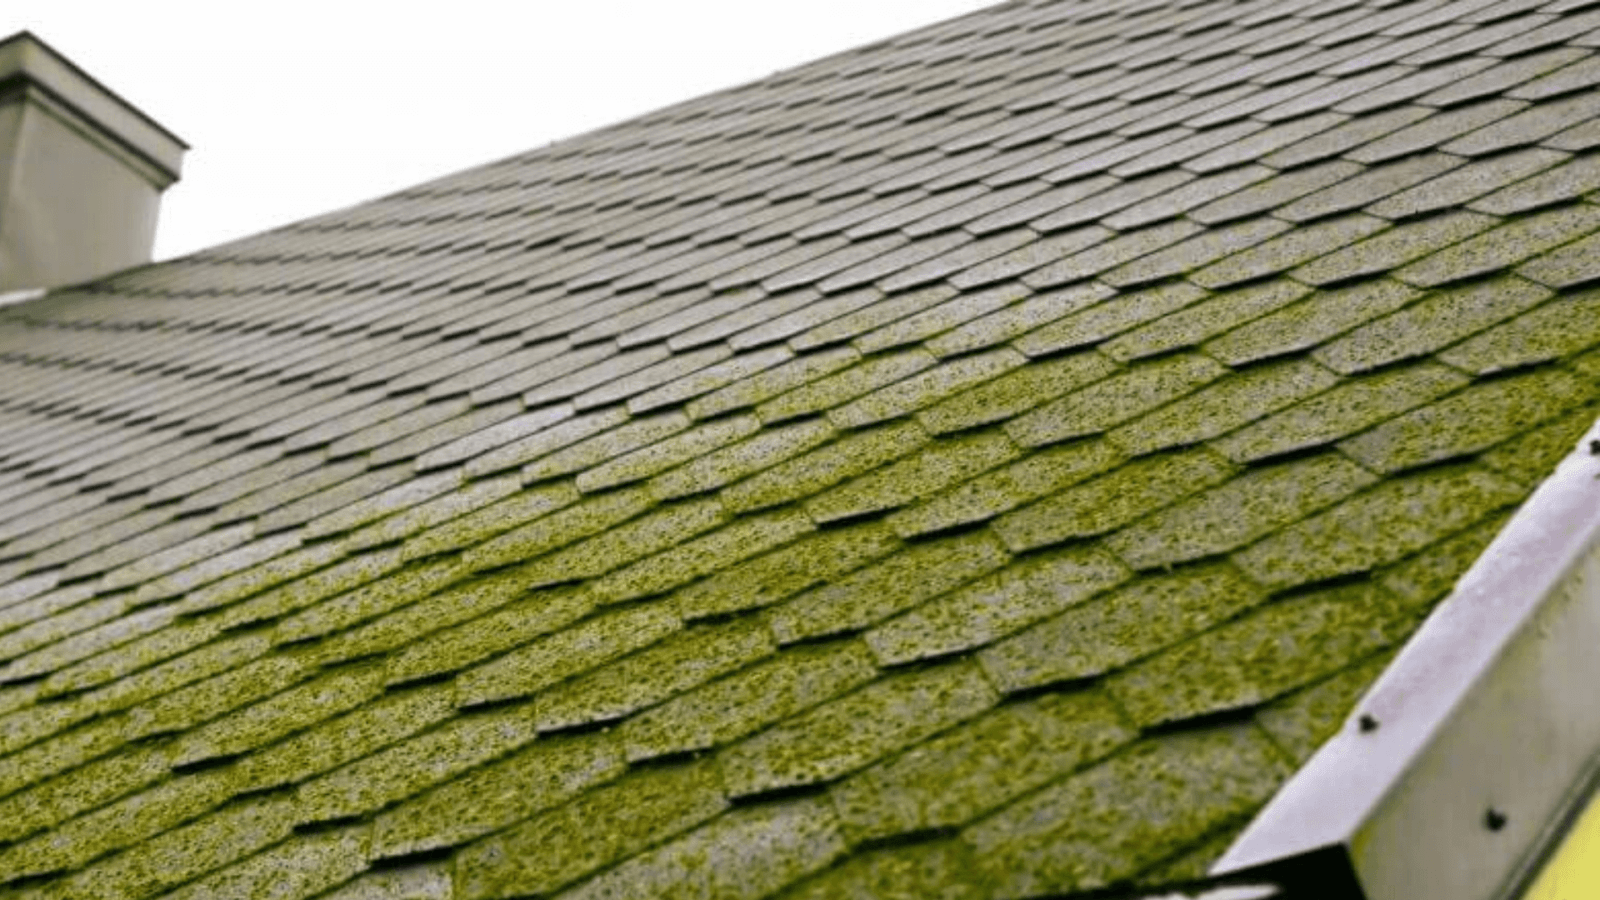

Moss accumulation on the roof may sound like an interesting thing if you’re a fiction or a fantasy fan. You might wonder if your house may look like the one right out of the Lord of the Rings book, covered with lush & green stuff giving it an incredibly natural feel, a house that once was owned by Bilbo Baggins. But in reality, the story just might take an odd turn of events. Unlike fantasy books where moss covers the entrance of a house and makes it look inspiringly beautiful, the reality is far much worse where a layer of green on your home roof can eventually become one of the leading causes of wood rot & roof leaks.
As the moss accumulates on the top of your home roof, then it starts growing with the passage of time. And as it grows, it homes on top and in between the shingles placed on your roof. No matter what kind of material shingles you’ve installed, a moss (if left untouched) can result in decaying them quickly, including the ones made up of wood, clay, or even metal. So if you don’t want to shorten the lifespan of the shingles installed at your home roof, then you should find a professional way to remove the moss once & for all.
Here are three easy steps on how anybody can remove moss from the shingles of their roof.
Step # 1: Hose Up and Brush All Moss Off from your Roof-Top
First things first, if you want to remove moss from your home roof-top, you will first have to find a way to climb up the roof. Get a ladder and place it near the area of the roof which is mostly affected by moss.
Now before you start climbing up the ladder for roof moss removal jobs, make sure to wear all protective gears such as goggles, clean face mask, an isolation gown, moss removal tool kit, rubber shoes, etc.
If you don’t have these gears, then it’s best that you go to the market and buy them first. Because if you don’t wear safety gear before you go near moss, it can create some serious skin or other kinds of infection.
Now once you’re all prepped up, climb at the top of the roof and hose off the area which is covered with moss using plain water. Do it in a downward direction, right from the top so the moss gets numb & soft.
Now use a shingle scrubbing tool to gently loosen up the moss from the shingles.
Step # 2: Now Apply a Powerful Cleaning Solution to Remove the Stubborn Bits
When the accumulated moss is loosened up properly, use a concentrated moss removal chemical that you may have purchased while buying your moss removal toolkit. Be thorough about the chemical because there are plenty of brands available in the market. You need to have a keen eye to pick the right one. So once, you’ve got the chemical, use a spraying machine to spray the strong chemical on the moss.
While doing the spray job, do remember that these sprays are highly concentrated so if you’re not wearing an isolation gown or you’ve not covered the ground with plastic, it can damage your suit and plants.
Now some chemicals wouldn’t require cleaning, and others would require a freshwater spray. Based on whatever chemical you choose, read the instructions, and follow the process step by step. These chemicals usually take around 25-45 seconds until the moss is completely removed from roof shingles.
Also, check in how much volume the chemical is required to mix in water before spraying it.
Step # 3: Lastly, Applying Copper & Zinc to Ensure No Future Moss Accumulates
To prevent moss from forming up on the roof in the future, it’s best to apply copper or zinc sheet strips below the top ridge on both sides of your roof. Both the metals are toxic for moss & will keep it away.
Now doing all that will require you to spend your funds on purchasing the products and human effort.
How about if I tell you that you can save yourself a lot of time and hassle of skipping from visiting the market, purchasing the product, wearing the gear, and performing the job by making a simple phone call.
Why Choose Quick Sidekick for Moss Removal in Vancouver?
At Quick Sidekick, we take pride in providing one of the best moss removal services across all Vancouver.
While many moss removal service providers keep things hidden and only reveal their methods and processes once they initiate the work at your location, we on the other hand believe that it will be best to keep things very transparent with our clients and customers.
It’s why we go the extra length to explain how we do it.

Step # 1: To remove the hard moss chunks from the surface of your roof, we utilize special quality bristle brushes that easily softens up the hard moss chunks and detach them from your roof surface properly.

Step # 2: Once, the hard chunks are removed, we then use our special eco-friendly moss removal chemical to soften up the smaller more stubborn moss residuals. The process hardly takes 30 seconds.

Step # 3: Once the moss is completely removed from your surface, we make sure that we spray the top of your roof thoroughly so it ensures that no moss is gathered ever again on your rooftop for a while.
Lastly, based on your budget and requirements, we also future proof your roof so no moss gathers at all.
Hire Quick Sidekick and Get the Best Moss Removal anywhere in Vancouver. Dial (604) 343-5763