
How to Fix a Gutter That is Falling Off: A Comprehensive Guide by Quick Sidekick!
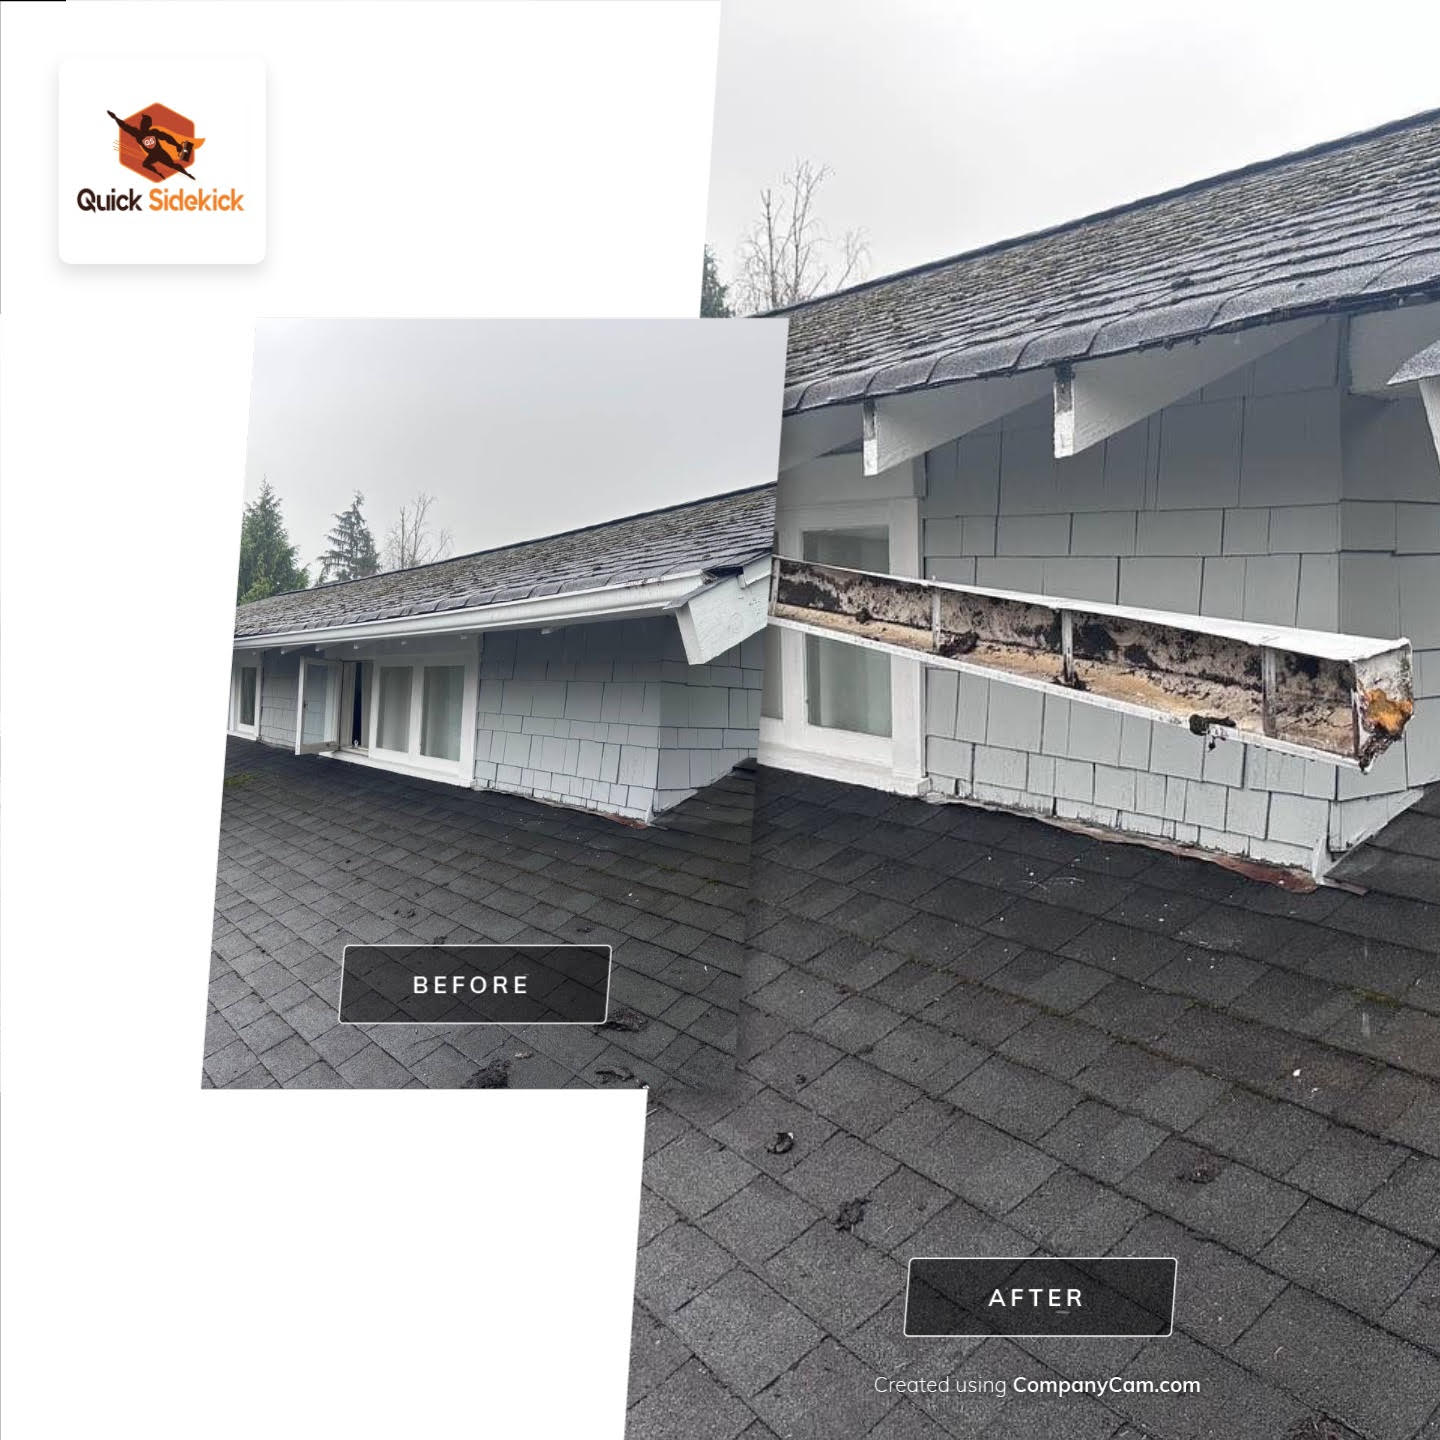
A gutter that is falling off can lead to serious issues including water damage to your home. This problem is usually the result of improper maintenance such as lack of cleaning, leading to the accumulation of debris and subsequent detachment due to the extra weight. Another common cause for gutter that is falling off is a rotten fascia, which may require replacement before the gutter can be reattached. Quick Sidekick is here to guide you through the potential DIY solutions and provide professional services to address all your gutter repair needs.
Delve Deeper into Causes and Solutions: Understanding Why a Gutter is Falling Off and How to Prevent It
Typically, gutter that is falling off starts to detach due to:
- Neglected Maintenance: A lack of regular cleaning leads to the accumulation of debris and the excess weight causes the gutter to lose its shape and detach or fall off.
- Rotten Fascia: The fascia to which the gutter is attached might be rotten. In such cases, you might need to replace your fascia before reattaching the gutter.
Tools You Might Need:
- Ladder
- Screwdriver or Drill
- Screws
- Brackets
- Level
- Gloves
- Safety Glasses
Step-by-Step Guide to Fixing a Falling Gutter:
-
Essential Safety Measures and Precautions to Employ When Addressing a Gutter That Is Falling Off
Ensure you have a stable ladder and are wearing gloves and safety glasses to prevent any accidents.
How to know what Height of ladder you need in order to fasten your falling gutter?
The height of the ladder you will need largely depends on the height of your home and what you feel comfortable using. Typically, a single-story house might need a 16 to 20-foot ladder, while a two-story house might need a 24 to 28-foot ladder. For homes with more than two levels, you will likely need an extension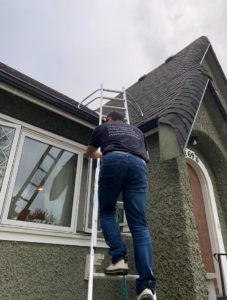 ladder that can reach higher elevations. Here’s a rough guideline:
Ladder Height Based on House Levels:
- Single-Story House: A ladder that is approximately 16 to 20 feet should be adequate.
- Two-Story House: A ladder around 24 to 28 feet is typically necessary.
- Three-Story House or Higher: A 36 feet or higher extension ladder may be required.
-
Conduct a Thorough Inspection: Scrutinizing the Gutter for Any Signs of Damage, Misalignment, or Obstruction
Inspect the gutter for damage or obstructions, and remove any accumulated debris.
When getting your gutter repaired for gutter that is falling off you must clean your gutter before we repair the gutter.Fixing a gutter that is dirty can be inefficient and problematic for several reasons. Here’s why it’s crucial to clean gutters before attempting any repairs:
- Accurate Diagnosis:
- Blocked Vision: Dirt and debris can obscure the view of the gutter, preventing an accurate assessment of its condition.
- Hidden Damages: Leaves, twigs, and other debris might be covering holes, cracks, or other damages in the gutter.
- Ineffective Repairs:
- Impaired Adhesion: If you’re using a sealing agent to fix leaks, the presence of dirt and moisture can hinder proper adhesion, leading to ineffective repairs.
- Incorrect Sealing: Debris can get trapped in the sealant, causing it to be improperly applied, which can result in future leaks and damages.
- Safety Concerns:
- Slip Hazards: Wet and decomposing leaves can be slippery, posing a risk when moving along the gutter to make repairs.
- Unseen Obstacles: Hidden sharp objects or animal nests within the debris can pose unexpected hazards during the repair process.
- Further Complications:
- Weight Strain: The additional weight of the debris can strain the already damaged gutter, potentially causing more damage during the repair process.
- Water Accumulation: Dirty gutters may hold standing water, which can add extra weight and stress to the gutter system and may cause rusting and corrosion.
- Inefficient Workflow:
- Frequent Interruptions: Constantly having to remove debris while trying to repair can be time-consuming and frustrating.
- Inadequate Repair Assessment: It’s difficult to determine whether the repair has been successful if the gutter is not clean and water cannot flow freely.
-
Ensure Proper Placement and Slope: Accurately Aligning the Gutter to Facilitate Optimal Water Flow and Prevent Accumulation
If misaligned, use a level to properly align the gutter to facilitate adequate water flow towards the downspouts.
Proper Gutter Alignment for Optimal Flow:
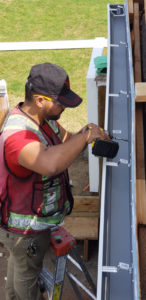 The proper alignment of a gutter is crucial for effective water flow and to prevent water stagnation and overflow. Generally, gutters should have a slight slope, or pitch, to ensure that water flows towards the downspouts. Here’s how you can achieve the proper alignment for your gutters:
- Ideal Slope or Pitch:
The recommended slope for gutters is 1/16 to 1/20 inch per foot of length, aiming for approximately a quarter-inch of slope for every 10 feet of gutter.
- How to Achieve the Right Alignment:
- Identify High and Low Points: – The highest point of the gutter should be at the end furthest from the downspout, and the lowest point should be at the downspout.
- Use a String Line: – Stretch a string line from the highest point to the lowest point to act as a guide. Ensure the string has the proper slope.
- Use a Level: – Place a level against the string or directly on the gutter to ensure that the gutter has the correct slope.
- Adjust Brackets and Hangers: – Adjust the gutter brackets or hangers as needed to align the gutter with the slope of the string line.
- Regular Checks: – Regularly check the alignment by pouring a bucket of water at the highest point and observing the flow towards the downspout.
-
Securely Position or Replace: Installing New or Substituting Damaged Brackets to Reinforce and Stabilize the Gutter System
Replace any damaged or missing brackets and space them evenly along the gutter length.
How to Install a Gutter Bracket:
Installing gutter brackets is an essential part of maintaining the structural integrity of your gutter system. Here’s a step-by-step guide on how to install a gutter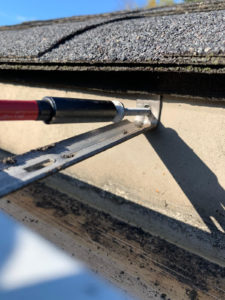 bracket:
Tools & Materials Needed:
- Ladder
- Screwdriver or Drill
- Screws
- New Gutter Bracket
- Level
- Tape Measure
- Safety Gear (Gloves, Safety Glasses)
Installation Steps:
- Safety First:
- Position your ladder on stable, level ground and wear safety gear.
- Measure and Mark:
- Measure and mark where the new bracket will be installed. Brackets are typically placed every 24 to 36 inches along the gutter.
- Position the Bracket:
- Place the bracket inside the gutter, ensuring it’s snug against the front lip of the gutter.
- Secure the Bracket:
- Using screws and a screwdriver or drill, secure the bracket to the fascia board.
- Ensure Proper Alignment:
- Once installed, check the alignment of the gutter using a level. Adjust the bracket if necessary to ensure the proper slope for water flow to the downspout.
- Final Inspection:
- After installing all the required brackets, inspect the entire gutter system to ensure stability and proper alignment.If you need to buy a bracket for your gutters and do not know where to buy try Home Depot the average size a person needs is 5inches
-
Ensure Stability and Longevity: Properly Fastening and Securing the Gutter to Withstand Environmental Strains and Prevent Detachment
Attach the gutter firmly to the (preferably new) fascia board using screws, avoiding over-tightening.
When installing gutter brackets, choosing the right screws is essential to ensure a secure and long-lasting installation. Typically, the screws used should be resistant to rust and corrosion, as they will be exposed to the elements.
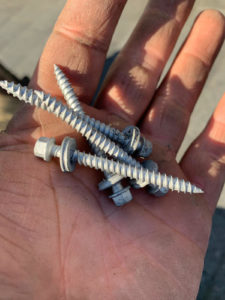 Type of Screws:
- Stainless Steel Screws: These are corrosion-resistant, durable, and ideal for outdoor use.
- Galvanized Screws: These are also suitable due to their resistance to rust, although they may not be as durable as stainless steel in the long run.
- Aluminum Screws: These can be used when attaching brackets to aluminum gutters, as using steel screws might cause a galvanic reaction leading to corrosion.
Size of Screws:
- Length: The screw should be long enough to secure the bracket to the fascia firmly. Typically, screws that are at least 1 to 1½ inch long are used.
- Diameter: A screw with a larger diameter will generally hold better. A #8 or #10 diameter is commonly used for gutter installations.
Other Considerations:
- Head Type: Screws with a broader head are generally better as they offer more holding power.
- Thread Type: Coarse threads are usually better suited for installations in wood, like fascia boards.
- Number of Screws: Use at least two screws per bracket to ensure a secure fit.
- Compatibility: Ensure the screws are compatible with the material of the gutter and fascia to prevent corrosion.
Procedure:
- Drill Pilot Holes: Before screwing in, it’s good practice to drill pilot holes to prevent splitting the fascia board.
- Securing: When securing, make sure the screws are tight, but avoid over-tightening as it may deform the gutter or bracket.
Here is an option on Lowes for screws Screw Option
-
Conduct a Comprehensive Evaluation: Thoroughly Inspect the Entire Gutter System to Ensure Optimal Functionality and Identify Potential Issues
Check the entire gutter system for other potential issues and repair them as needed.
After installing new brackets on a gutter, it is crucial to inspect the entire system thoroughly to ensure that it’s securely attached, properly aligned, and functioning correctly. Here’s a structured way to inspect the entire gutter system:
- Visual Inspection:
- Check the Alignment: – From a distance, visually inspect the gutters to ensure they are straight and aligned correctly along the roofline. b. Inspect Brackets and Fasteners: – Check all brackets and fasteners to ensure they are secure and not damaged or rusty. c. Look for Signs of Damage: – Examine the entire gutter length for any signs of cracks, holes, or rust.
- Physical Inspection:
- Check the Stability: – Manually check the stability of the gutter system by gently applying pressure. The gutter should not wobble or move. b. Ensure Proper Slope: – Use a level to confirm that the gutter has the correct slope towards the downspouts for efficient water flow. c. Examine Downspouts: – Inspect downspouts to ensure they are securely attached and free of blockages.
- Functional Inspection:
- Flow Test: – Use a hose to run water through the gutters to the downspouts, checking for any leaks, overflows, or areas where water pools. b. Observe Water Flow: – Ensure water flows freely through the gutters and downspouts without any obstructions or diversions. c. Check Drainage: – Verify that water exits the downspouts correctly and is directed away from the foundation.
- Periodic Inspection:
- After Rainfall:
- After the next rainfall, inspect the gutter system again to ensure there are no leaks or overflows and that water is draining away from the foundation properly.
- Seasonal Check:
- Conduct seasonal checks, especially after winter and fall, to ensure the gutters are in optimal condition and free from debris.
Expert Help at Your Fingertips: Our Professional and Skilled Team is Just a Phone Call Away to Resolve All Your Gutter Concerns Efficiently and Effectively
While DIY repairs can provide temporary solutions, it is often safer and more effective to seek professional help, especially when dealing with extensive damage or if you are not comfortable with heights. Quick Sidekick has experienced professionals armed with the right tools and expertise to handle all gutter-related issues efficiently and securely.
Conclusion:
Maintaining the integrity of your gutters is crucial in protecting your home from water damage. Whether you opt for a DIY repair using the above steps or decide to call in the experts, Quick Sidekick is your reliable partner, ensuring secure, functional, and durable gutter solutions.
To learn more about our gutter repair services please check out https://vancouver.quicksidekick.com/vancouver-services/gutter-repair-service/
Contact Quick Sidekick:
– 604-343-5763
–https://vancouver.quicksidekick.com/
Quick Sidekick is committed to delivering premium services to keep your gutters in prime condition, protecting your home from any unforeseen water damages, and saving you from expensive repairs down the line!