
Bathrooms are an important part of your home and no one can deny the need for a clean, functional bathroom. It would become a nuisance if it is leaking, has mold, or has a pungent odor that just doesn’t seem to go away. These issues don’t occur only because of old or faulty plumbing but also could be due to old caulking. Sometimes the caulking around the tiles and tubs is broken-down which starts to absorb water and muck. It not only gives a nasty look but also is harmful to health and the bathroom’s structure. When such issues happen, it becomes pertinent to get a professional handyman in Vancouver to replace the caulking in your bathroom.
How to Replace the Bathroom caulking?
When you notice that the old caulking has become old and is not working as a sealant against water and soap gunk, it is time to change it. Changing the caulk may seem like an easy task to do but it requires the right -tools and liquid cleaners to ensure that you don’t end up damaging your tiles. That’s why people consider working with a reliable handyman company for removing caulking in the bathrooms.
The following steps will help you to get rid of the old caulk:
- Apply a caulk removing material, preferably a silicone caulk remover as it works the best.
- Leave the remover for a minimum of 12 hours and if the caulk is quite thick, it is best to leave it for 24 hours.
- Use a caulk removal tool to get the caulk to loosen up from the sides.
- Use a putty knife or scraper to remove the caulk completely. This will take time and patience and steady hands so that you don’t damage the basin or tiles.
- After removing the caulk, use alcohol to rub and clean the surface to remove the mold and any other dirt.
- Let the place air dry thoroughly to avoid any fungal growths.
Replacing the old caulking is a time-consuming process and if not done right, it can leave your bathtubs and sinks at a higher risk. The process requires knowledge about tools and cleaning solutions so, it is advised to call in an expert handyman in Vancouver to do the job for you.
ALSO READ: How to Fix a Leaking Gutter that Lasts
Old caulk out, new caulk in
Removing the old caulking is just the first part of the entire process. The other half is to fill the place with the new one to avoid water retention or mold growth.
Here are the steps to put in new caulking in your bathroom:
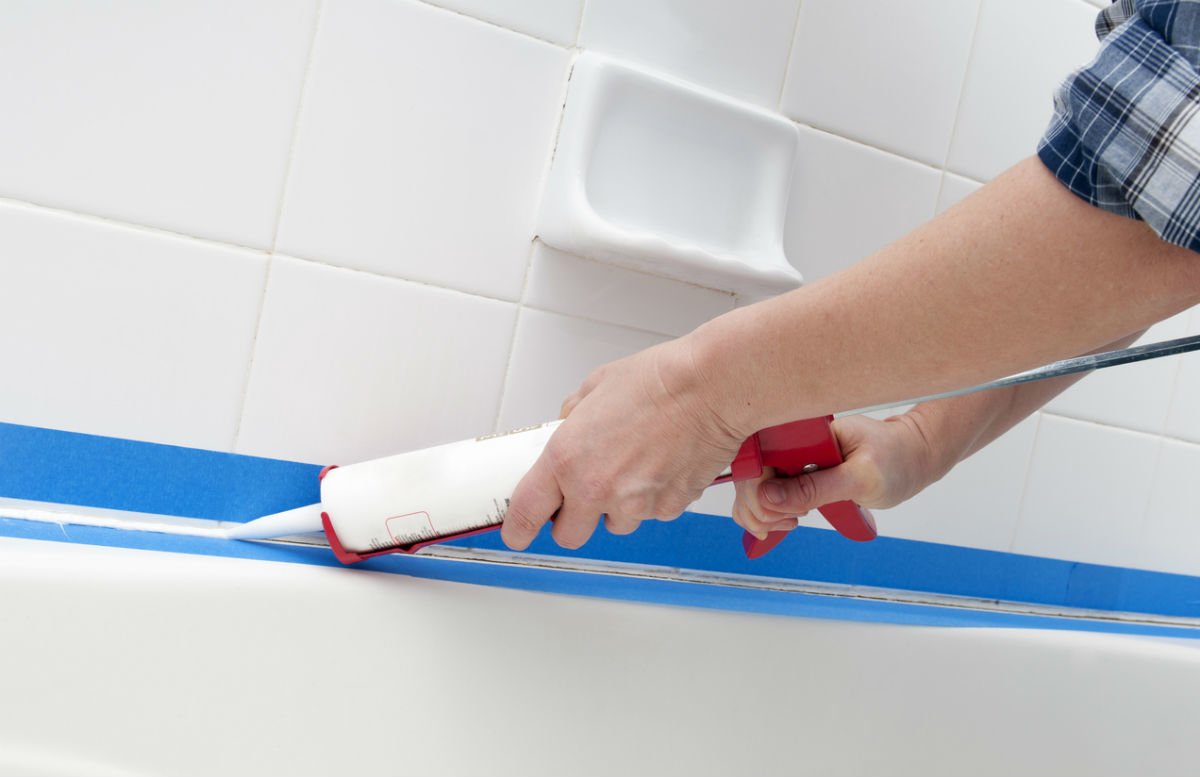
- Air-dry the bathroom after removing the old caulk and put painters tape around the areas where you need to apply the caulk.
- Vacuum the area to get rid of any dry debris.
- Place the caulk tube into the caulking gun. Start placing caulk on the sides of the basin and tiles.
- Press in the caulk with your fingers or a sponge and remove the excess
- Wait for it to dry at least two to three days before the general use of the bathroom.
ALSO READ: Why You Should Hire a Professional Handyman in Vancouver
Why Hire a Professional Handyman for the Job?
Re-caulking your bathroom in a way that it looks flawless is not the job of a layman. It is ideal to call in a professional handyman in Vancouver who has the right tools and knows the best techniques for restoring the caulking in your bathroom and giving it a fresh new look. At Quick Sidekick, our experienced handymen know what will be best for your bathroom. We can replace the caulking without damaging your tiles. So, call us now to set up an appointment today.